
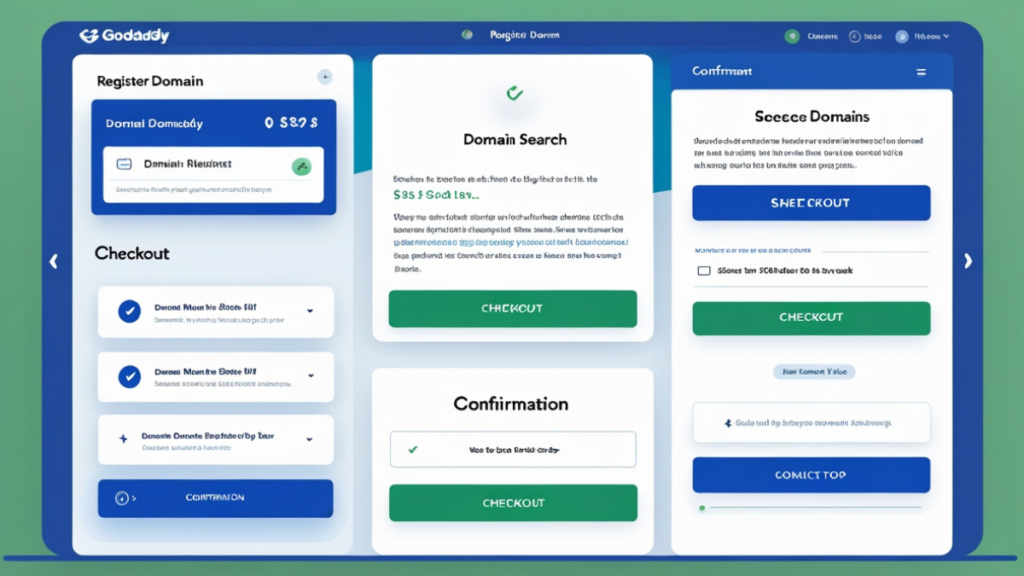
Are you planning to launch a website? One of the first and most crucial steps is registering a domain name. A domain name is your website’s address on the internet, and choosing the right one is essential for establishing your online presence. GoDaddy, one of the most popular domain registrars, makes it easy for individuals and businesses to register their domain names.
In this article, we will guide you through the process of how to register a domain name on GoDaddy in 5 easy steps. Whether you’re launching a blog, eCommerce store, or business website, we’ll show you how to secure your perfect domain name with ease. By the end of this guide, you’ll know exactly how to find, register, and manage your domain on GoDaddy.
Why Choose GoDaddy for Domain Registration?
Before diving into the registration process, let’s briefly discuss why GoDaddy is a top choice for domain registration. With more than 78 million domains under its management, GoDaddy is a trusted leader in the industry. It offers affordable pricing, a user-friendly interface, 24/7 customer support, and additional services like hosting, website builders, and email marketing tools.
GoDaddy also provides a robust domain management dashboard that makes it easy to manage and renew your domains.
Step 1: Search for Your Ideal Domain Name
The first step in registering a domain name is finding the one that best represents your business, brand, or personal blog. GoDaddy offers a simple search tool that allows you to check the availability of domain names.
How to search for your domain:
- Visit GoDaddy’s website: Go to GoDaddy and look for the search bar.
- Type your desired domain name: Enter the name you have in mind. You can also try adding relevant keywords related to your niche or business.
- Check availability: If the domain name is available, you’ll see it listed with an option to add it to your cart. If it’s already taken, GoDaddy will suggest alternative names or domain extensions (like .net, .org, or .co).
When selecting a domain name, remember to keep it short, easy to remember, and brandable. Also, ensure that your domain name is relevant to the content or purpose of your website.
Pro Tip: It’s a good idea to choose a .com domain if possible, as it’s the most recognized extension and looks more professional.
Step 2: Choose the Right Domain Extension
Once you’ve found an available domain name, the next step is selecting the right domain extension. Extensions are the suffixes that appear at the end of a domain name, such as .com, .net, or .org.
Common domain extensions include:
- .com: The most popular and trusted extension.
- .net: Ideal for technology-related websites.
- .org: Often used by nonprofits and organizations.
- .co: A popular alternative to .com.
- Country-specific extensions (e.g., .uk, .ca, .us): Useful for businesses operating in specific countries.
When registering a domain name on GoDaddy, you’ll be prompted to select an extension that best suits your website’s needs. If you’re unsure, .com is usually the best option for most websites.
Pro Tip: If you’re building a global brand, choosing a .com domain name is the safest bet.
Step 3: Create a GoDaddy Account
To complete the domain registration process, you’ll need to create an account on GoDaddy. This account will allow you to manage your domains, renew them when necessary, and access other GoDaddy services.
How to create an account:
- Click “Sign Up” or “Create an Account”: You’ll see this option on the GoDaddy homepage.
- Enter your details: Provide your name, email address, and a secure password.
- Verify your email address: GoDaddy will send a verification email to your inbox. Click on the link in the email to confirm your account.
Once your account is created, you can easily manage your domains and other services from your GoDaddy dashboard.
Step 4: Add Your Domain to the Cart
After selecting your domain and extension, it’s time to add the domain name to your cart. On GoDaddy, the process is simple:
- Click “Add to Cart”: Once you’ve found your perfect domain name, click the “Add to Cart” button.
- Review your order: You’ll be directed to a checkout page where you can review your selected domain name and make sure everything looks good.
- Optional add-ons: GoDaddy may offer additional services such as privacy protection, website hosting, and email accounts. These are optional but can help you protect your domain or build your website.
At this stage, you can also choose the registration period. Most people opt for a one-year registration, but you can choose a longer period if you prefer.
Step 5: Complete Your Purchase and Register Your Domain
Once you’ve reviewed your domain and selected any additional services, it’s time to complete your purchase.
How to complete your domain registration:
- Enter your billing details: Provide your payment information to finalize the transaction. GoDaddy accepts major credit cards, PayPal, and other payment methods.
- Review your order: Make sure all your details are correct before proceeding.
- Click “Complete Purchase”: Once your payment is processed, GoDaddy will register your domain name, and it will be yours!
You will receive a confirmation email, and you can now manage your domain name from your GoDaddy account. You’ll also receive reminders to renew your domain when the expiration date approaches.
Additional Tips for Managing Your Domain Name on GoDaddy
Once your domain is registered, there are a few additional things you should know to ensure your domain is secure and easy to manage.
Set Up Domain Privacy
GoDaddy offers domain privacy protection to keep your personal information private. Without domain privacy, your contact details will be publicly listed in the WHOIS database. Domain privacy protects your email, phone number, and address from spammers and potential hackers.
Set Up Auto-Renewal
To avoid accidentally losing your domain, consider setting up auto-renewal. This will automatically renew your domain before it expires, so you don’t have to worry about missing the renewal date.
Connect Your Domain to Your Website
Once your domain is registered, you can link it to your hosting provider or website. If you’ve purchased GoDaddy’s website hosting or built a website through their website builder, you can easily connect your domain directly through your GoDaddy account.
Conclusion
In this guide, we’ve shown you how to register a domain name on GoDaddy in just five easy steps. From searching for the right domain name to completing the registration process, GoDaddy makes it simple to secure your online presence.
Remember, choosing the right domain name is crucial for your website’s success, so take your time and pick a name that reflects your brand, product, or content. Once your domain is secured, you can move forward with building your website and establishing your brand online.
For the best domain registration experience and a variety of additional services, visit GoDaddy.
If you’re looking for premium streaming services, check out Codinov for the best options available.
Internal Link: For more tips on website hosting and domain management, head over to Codinov.
This article covers all the essential steps on how to register a domain name on GoDaddy in 5 easy steps. It is a great resource for anyone looking to launch their website or online business with a simple and reliable process.